Select
The Select tool allows you to select features within a layer based on their location. For example, you may want to select all of the wells within a certain area.
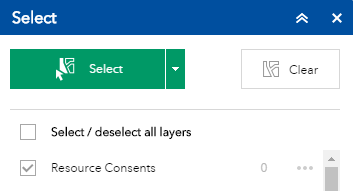
Click on the select ![]() icon to open the selection panel.
icon to open the selection panel.
Select features
1. Tick the layer you want to select features from, you can select more than one
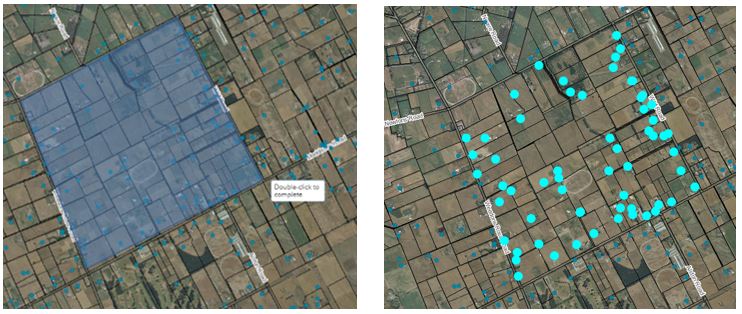
2. Choose one of shapes from the drop down list to enable the select tool.

3. Draw an area over the features that you want to select. Features within the drawn area will be highlighted on the map.
4. Select clear to remove the highlighted selection from your map ![]() .
.
View selected feature list
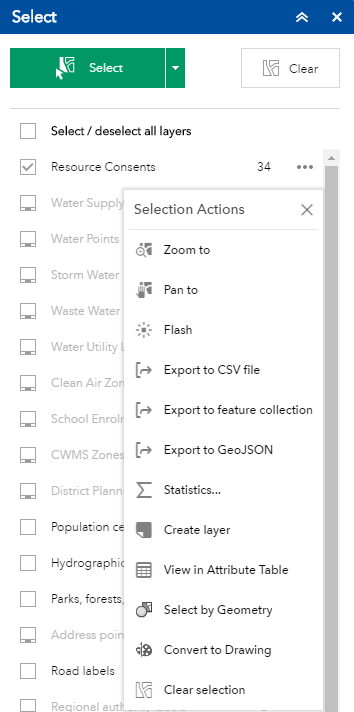
1. Click on the layer in the select panel to see the list of selected records. Note: the number of selected features is displayed next to the layer name.

2. Click on a feature in the list to zoom to the location on the map.


3. Click the show actions on selected features button to zoom to, pan to, flash, show pop ups, export, add a marker, view the selected feature in the attribute table, select by geometry and convert to drawing.

View selected features in attribute table
1. In the select tool ![]() click on the show actions button on the layer that was used to select features from and click 'view in attribute table'
click on the show actions button on the layer that was used to select features from and click 'view in attribute table'
2. The selected features will now be highlighted in the attribute table.
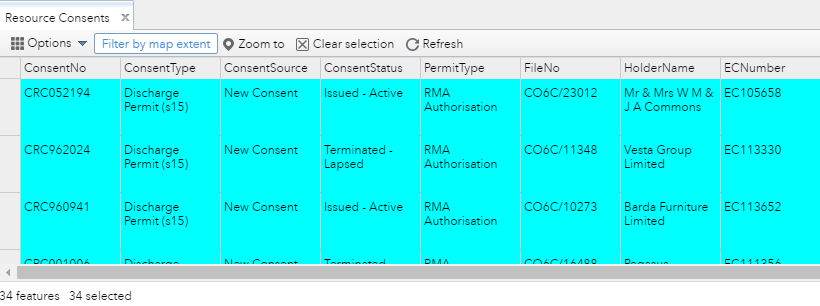
3. From here select options to show the selected records, show related records, filter, show/hide columns and export the selected to CSV
Export selected features
The selected feature details can be exported to a CSV (excel) file.
In the select tool ![]() click on the show actions button and choose to export to CSV file
click on the show actions button and choose to export to CSV file